How to Remove and Replace Non-Conductive Epoxy Adhesive Glue for Electronic Repairs
How to Remove and Replace Non-Conductive Epoxy Adhesive Glue for Electronic Repairs
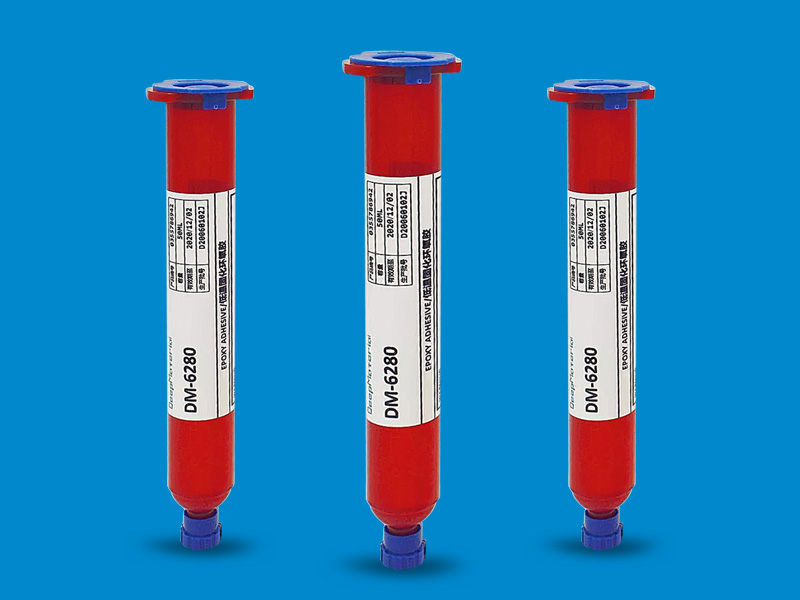
Non-conductive epoxy adhesive glue is a game-changer in the world of electronic repairs and applications. This type of adhesive is perfect when you need a strong, durable bond that also maintains excellent electrical insulation properties. It’s like the secret agent of glues, hiding in your devices, keeping things together while staying electrically undercover. Often, this glue is the go-to choice for securing components, protecting sensitive circuits, and providing structural support without conducting a speck of electricity.
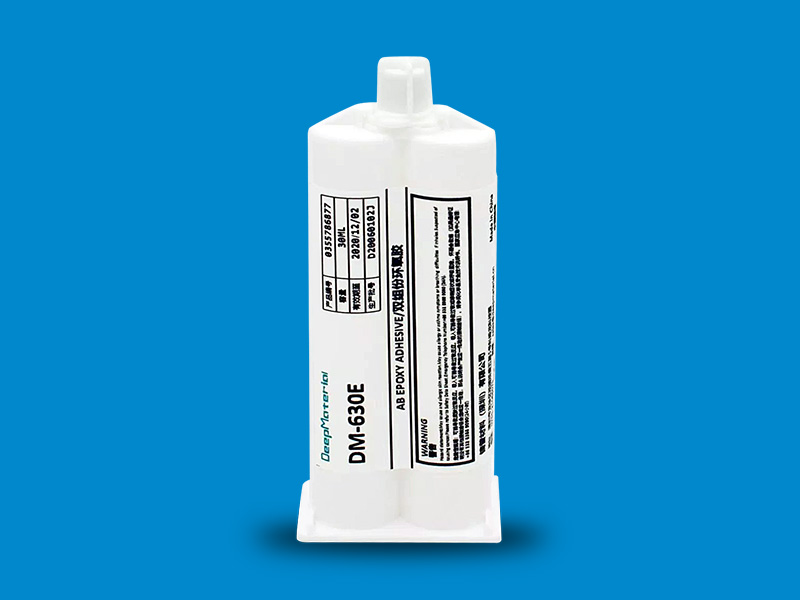
The magic behind this glue is its two-part resin system. Mix it up, and you’ve got yourself a strong and rigid bond thanks to the chemical reaction between the epoxy resin and the hardener. But the real kicker? It’s non-conductive! This is thanks to special fillers or additives that block any electricity from getting through, making this glue a top pick for any electronic gig where keeping things non-zappy is key.
Identifying the Need for Removal and Replacement
Sometimes, you’ve got to remove and replace this stealthy glue. Maybe it’s showing its age, getting a bit crumbly, or it’s just not sticking like it used to. Heat, moisture, or just the stress of life can break down this tough adhesive, risking component failures or electrical mishaps.
Or maybe you need to swap out a part that’s currently held down by this epoxy superhero. That means you’ll have to remove the glue without bringing down the whole operation. Keep an eye out for signs like cracks, brittleness, or just a general feeling of “not sticky anymore” to know when it’s time for a glue redo.

Preparing the Work Area for Epoxy Removal
Before diving into the glue removal adventure, it’s crucial to gear up and create a safe work zone. You’ll need a few tools like a heat gun or soldering iron, something sharp for scraping, tweezers, isopropyl alcohol, and don’t forget to suit up with gloves and safety goggles.
Make sure your work station is bright enough to spot a dust particle from across the room and free from any static electricity or other spooky hazards. Ventilation is key too—nobody likes breathing in mystery fumes. Setting up the right environment not only makes the job easier but also keeps you safe from the potential pitfalls of adhesive removal.
By understanding the ins and outs of non-conductive epoxy adhesive glue, you’re well on your way to mastering electronic repairs that are both safe and effective. Remember, a good fix starts with the right glue and ends with a clean and secure workspace!
Safely Removing the Non-Conductive Epoxy Adhesive
Removing non-conductive epoxy adhesive glue is like performing surgery on your electronic device. You need a steady hand and a whole lot of patience! Start by gently warming up the adhesive with a heat gun or soldering iron. Remember, it’s a delicate dance—too much heat, and you might as well be cooking your device! Use a sharp knife or razor blade to tease away the softened epoxy. Move slowly and carefully to avoid any ninja moves that might damage the device.
As you work, keep an eye out for any small components that decide to pop up and say hello. Tweezers are your best friend for picking up these tiny escapees. If the epoxy plays hard to get, you might need to heat and scrape a few more times to get it all off.
Always wear gloves and safety goggles during this process, and make sure you’re in a well-ventilated area. Properly dispose of the old epoxy—treat it like yesterday’s leftovers that nobody wants!
Cleaning the Surface After Epoxy Removal
After you’ve ousted the old epoxy, it’s cleaning time! Grab some isopropyl alcohol and a lint-free cloth to scrub down the area. If the epoxy left a few stubborn bits behind, a soft brush or toothpick can help convince them to leave. After cleaning, inspect the surface like a detective looking for clues. Make sure there’s no residue plotting its comeback.
Selecting the Appropriate Replacement Epoxy Adhesive
Choosing a new non-conductive epoxy adhesive is like picking a new phone—it needs to fit your needs! Consider what your device goes through daily and select an adhesive that can handle the job. It should keep its cool (temperature resistance), stick around (viscosity), and set in time (curing speed) without causing a fuss (non-conductive).
Don’t just grab any old glue off the shelf. Look for one that promises not to conduct electricity and matches the strength and flexibility your device needs. When in doubt, chat with a pro or peek at the manufacturer’s specs to make sure you’re getting the right stuff.
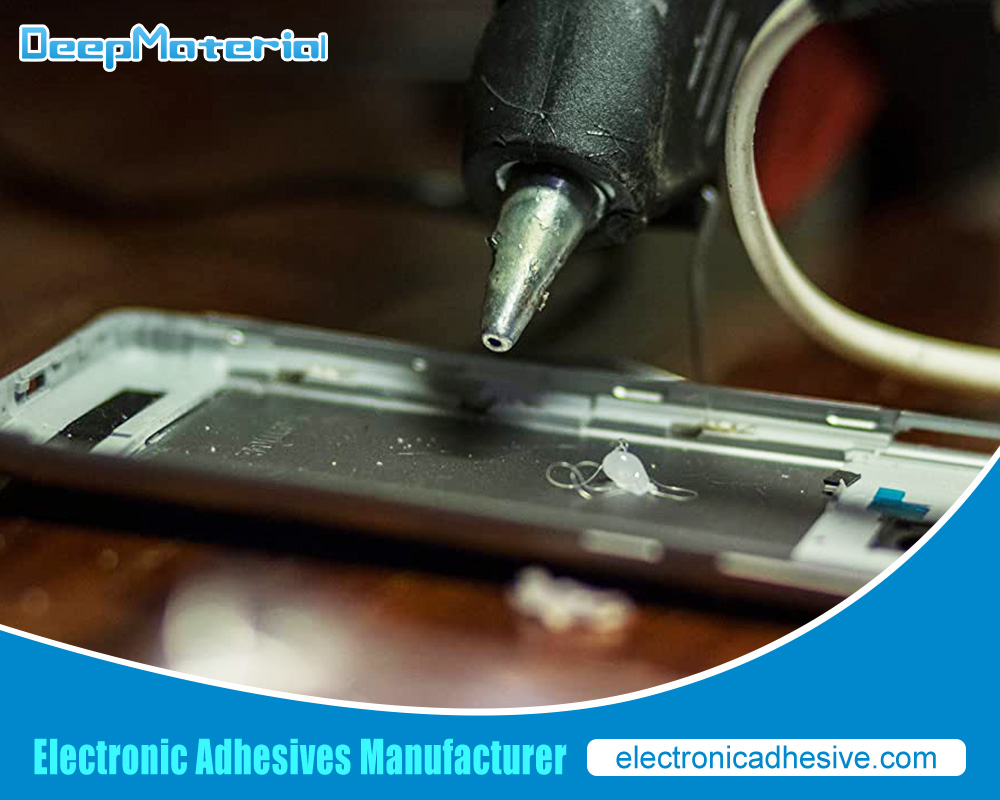
Applying the New Non-Conductive Epoxy Adhesive
Now for the fun part—applying your new epoxy! Clean the area once more with isopropyl alcohol because cleanliness is next to gadget-godliness. Mix up your epoxy according to the sacred texts (the manufacturer’s instructions). Use a toothpick or a small applicator to spread the love—I mean, adhesive—ensuring it’s even and air-bubble-free.
Stick to the script regarding curing times and methods. Some adhesives like to take their time, while others set faster than you can say “Oops.” Proper application means you won’t be redoing this repair anytime soon. So, take your time, follow the steps, and soon your device will be ready to face the world again, stronger and more reliable than ever!
Curing and Finishing the Epoxy Repair
Curing the new non-conductive epoxy adhesive isn’t as thrilling as watching paint dry, but it’s just as crucial. Imagine it’s turning from a puddle into a super-strong shield. The time it takes to cure varies with the type of adhesive, the room temperature, and other exciting factors like humidity.
Follow the manufacturer’s timeline to the letter. If it says to wait hours or even days, do that. Trying to speed things up could mess with the adhesive’s mojo, weakening the bond and setting you up for a repair sequel nobody wants.
After the epoxy has fully cured, check out your handiwork. If there are any rough spots or overhangs of adhesive, gently file them down or sand them smooth. Give the area one last cleaning to sweep away any debris from your sanding adventure, making sure the device is spotless and ready for action.

Tips for Successful Epoxy Replacement in Electronic Repairs
Replacing non-conductive epoxy adhesive in electronics can sometimes feel like a high-stakes game of Operation—precision is key, and so is patience. One common snag is removing old, stubborn epoxy that’s decided it’s never leaving. If it’s really stuck, you might need to break out a combo of heat, solvent, and elbow grease. Each case might need a different approach, so be ready to switch tactics.
Securing a solid bond with the new epoxy is like making a good friendship—it needs the right prep and care. Make sure surfaces are clean, get the mix right, and apply it with finesse. Follow the curing instructions closely, because good things come to those who wait.
Keep an eye on the repair as time goes on. If you see signs of wear or failure, it might be time for a little touch-up. Knowing the ins and outs of your epoxy adhesive will arm you with the knowledge to handle any hiccups along the way. Stick to these tips, and your electronic repairs should stay solid and reliable, ready to face whatever the world throws their way. And remember, haste makes waste, especially in the world of delicate electronic repairs!
For more about how to remove and replace non-conductive epoxy adhesive glue for electronic repairs, you can pay a visit to DeepMaterial at https://www.electronicadhesive.com/ for more info.