DIY Tips: Applying Non Conductive Coating for Electronics at Home
DIY Tips: Applying Non Conductive Coating for Electronics at Home
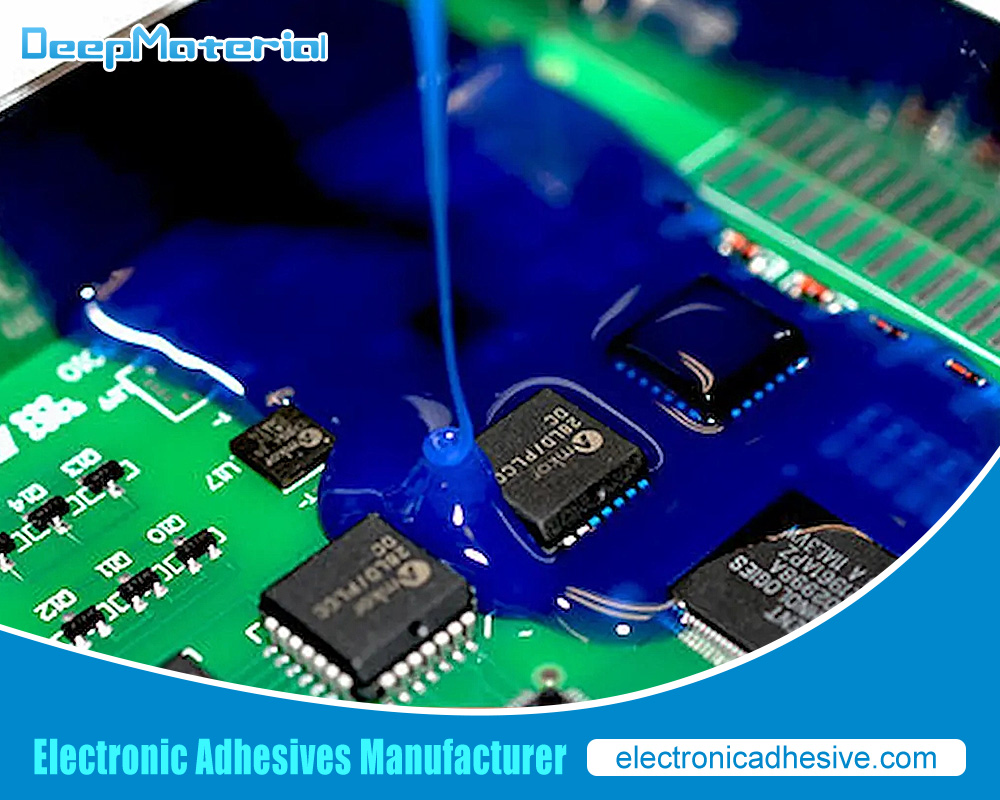
A non conductive coating is like a special shield for electronic parts and boards. It stops electricity from going places it shouldn’t. Think of it as a superhero cape that makes sure electricity only goes where we want it to. This coating keeps electronic things working right and lasting longer. It stops them from getting ruined by water, rust, and other bad stuff from the environment.
It’s super important to use non conductive coating on electronics. Without it, the parts inside could easily get messed up. If electricity goes the wrong way, it could break things or even ruin them for good. Water and rust could get inside and mess up the tiny circuits. But, if you put this special coating on, it acts like an invisible barrier. It keeps all that bad stuff away and makes sure the electronics can do their job right.
Benefits of Applying Non Conductive Coating
Stops electricity from going the wrong way: The best thing about non conductive coating is it makes sure electricity only goes where it should. This means no short circuits or electrical problems, keeping everything running smoothly.
Keeps out water and stops rust: Electronics don’t like water or getting rusty. These things can make them stop working. The non conductive coating covers them up so water can’t get in and rust can’t start. This keeps everything working like new.
Makes electronics last longer: With protection from electricity problems, water, and rust, electronics can last a lot longer. They can handle tough places, changes in temperature, and other tough stuff from outside. This means you get to use your electronic devices for a much longer time without any troubles.
Materials Required for DIY Non Conductive Coating
To put non conductive coating on your electronics yourself, you need a few things to start:
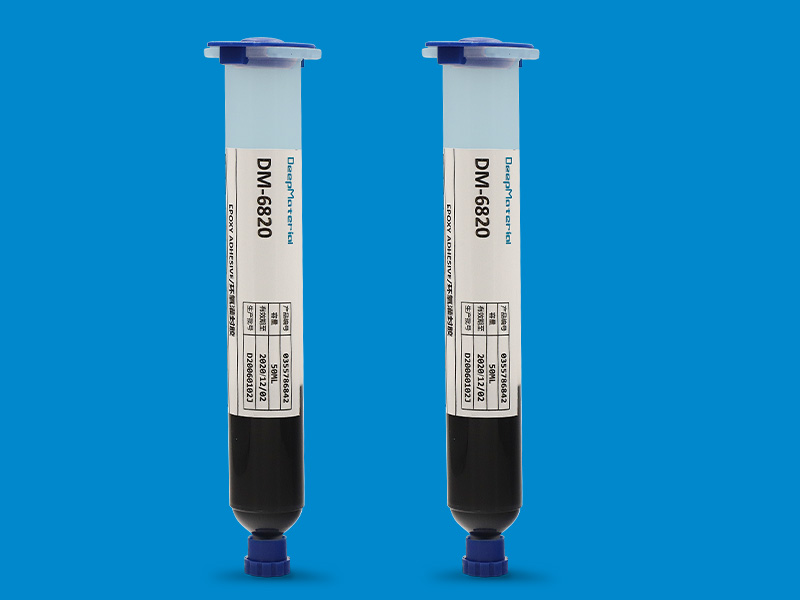
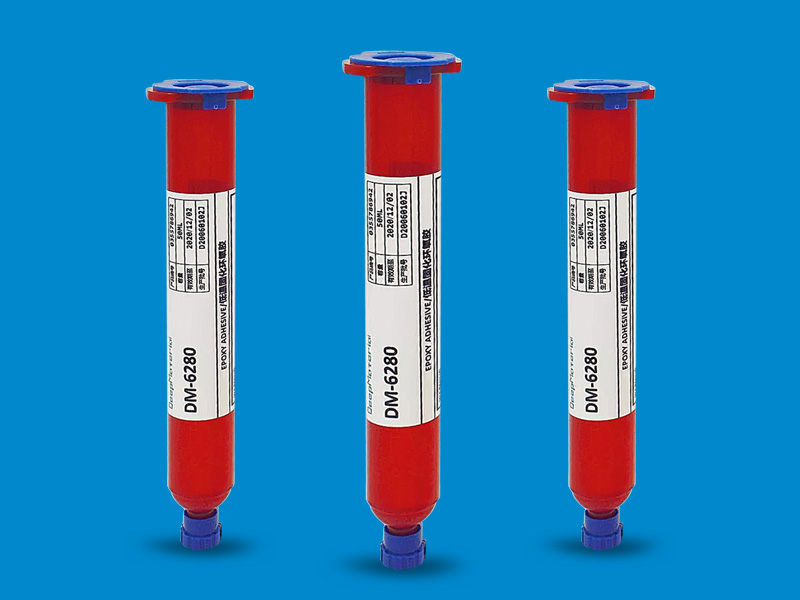
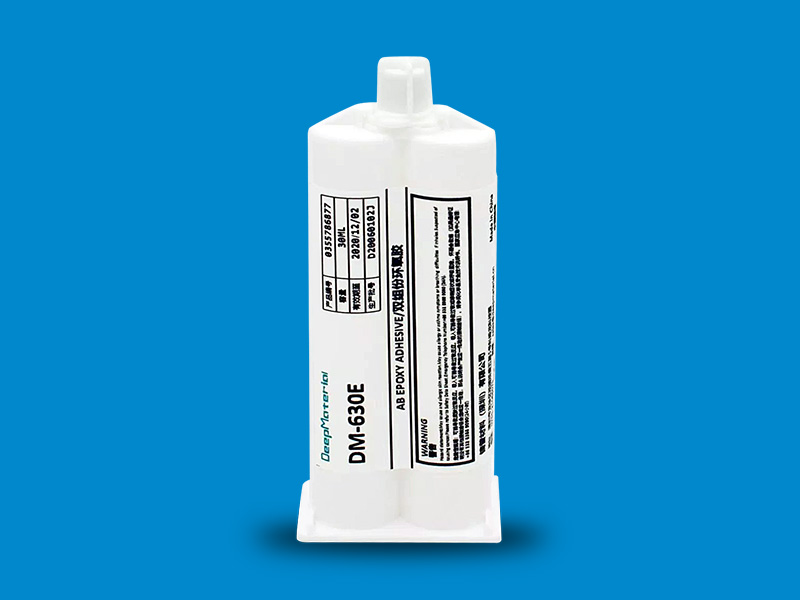
Non conductive coating solution: You can find different kinds, like acrylic, silicone, or epoxy. Pick the one that fits what you need and the kind of electronics you’re working on.
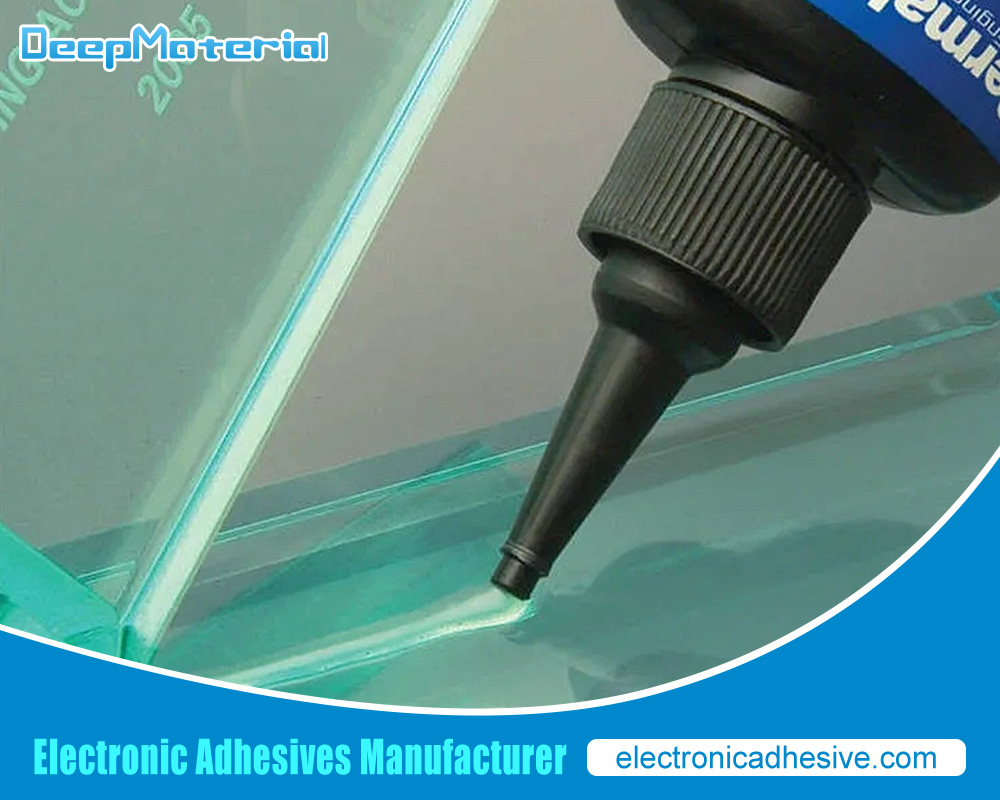
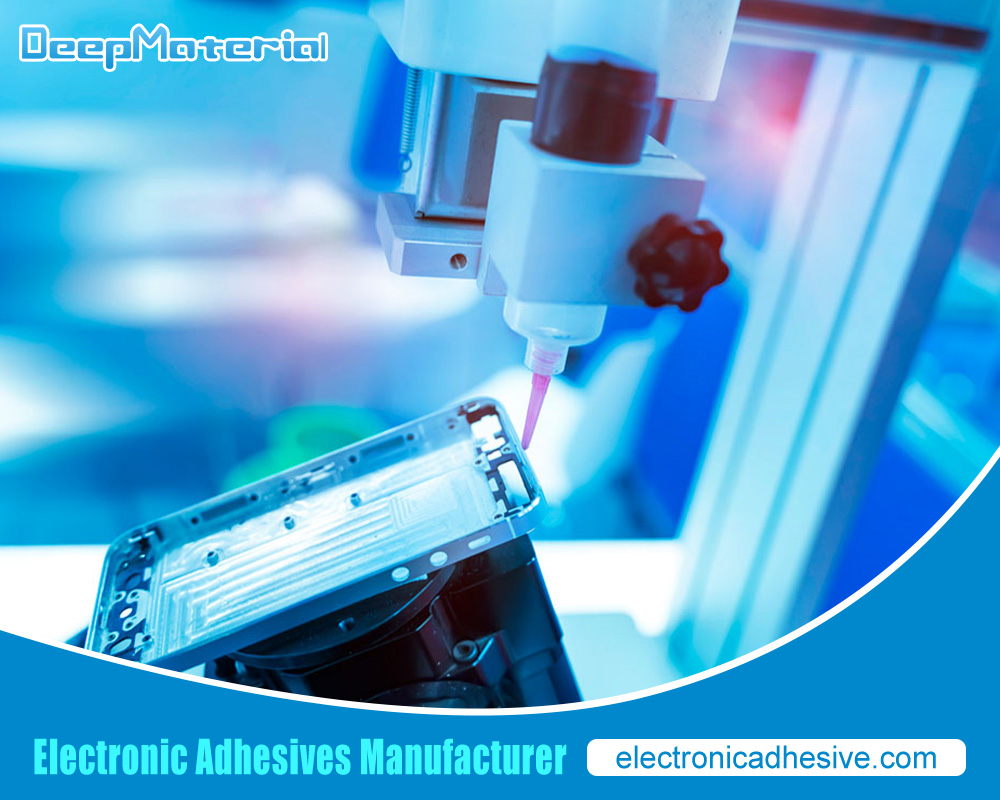
Applicator: What you use to put the coating on depends on the type of coating. You might use a brush, spray gun, or something to dip the parts in. Think about how big or detailed your electronic parts are to choose the best way to apply the coating.
Cleaning materials: It’s important to clean your electronics well before you put the coating on. This means getting rid of any dirt or dust. You’ll need something like isopropyl alcohol and some clean cloths or swabs that don’t leave lint behind.
Safety gear: Since you’re working with chemicals, you need to be safe. Have gloves to keep the chemicals off your hands, safety goggles to protect your eyes, and a mask so you don’t breathe in anything harmful.
You can buy these materials at stores that sell electronics supplies or online.
Safety Precautions to Follow
When you’re working with chemicals to apply non conductive coating, being safe is really important. Here are some safety tips:
Know the risks: Non conductive coatings can have chemicals that are bad for you if you’re not careful. Make sure to read and understand all the safety info from the coating’s maker. Learn about any dangers and how to avoid them.
Wear the right protective gear: Always wear gloves, safety goggles, and a mask when you’re working with the coating. This protects your hands, eyes, and lungs from the chemicals.
Work in a place with lots of air: Make sure the air in your work area moves around well to keep away bad fumes. Use a fan or open windows if you can. Don’t work in a small space without enough air, because the fumes can build up and be dangerous.
By following these safety steps, you can work safely with chemicals and have a successful DIY project with non conductive coating.
Step-by-Step Guide to Applying Non Conductive Coating
Now that you have the necessary materials and understand the importance of safety, let’s dive into the step-by-step process of applying non conductive coating to your electronics:
Preparation of Surface
First, clean the electronic’s surface well. Use isopropyl alcohol or a similar solution to take off any dirt, dust, or unwanted stuff. Make sure it’s totally dry before you move on.
Application of Coating
Follow what the coating maker says about how to put it on. If you’re using a brush, spread a thin, even layer on the surface. Cover all the parts that are exposed. With a spray gun, keep it the same distance away and use a few light coats for good coverage. For dipping, put the parts into the coating and let any extra drip off.
Drying Time
Let the coating dry as long as the maker says. This could be from a few minutes to a few hours. It depends on the coating type and the air around you. Don’t touch or move the electronics while they’re drying. This could mess up the coating.
Reapplication if Necessary
Sometimes, one coat isn’t enough. If you need more protection, do the coating process again. Make sure every part is well covered and insulated.
Tips for Preparing the Surface for Coating
Getting the surface ready right is key for the best coating results. Here are some tips:
Cleaning the Surface
Clean the surface with isopropyl alcohol or a cleaning solution to get rid of dirt, dust, or anything else that shouldn’t be there. This is very important for the coating to stick right and work well.
Sanding the Surface
If there are any rough spots, lightly sand the surface. Use fine-grit sandpaper and be gentle. You don’t want to hurt the parts.
Removing Any Debris or Dust
Make sure there’s no dust or little bits left before coating. Use compressed air or a clean cloth that doesn’t leave lint to get rid of them.
By doing these steps, you’ll make sure the surface is ready for the non conductive coating. This makes the protection as good as it can be for your electronics.
How to Test the Effectiveness of Non Conductive Coating
After putting non conductive coating on your electronics, it’s smart to check if it works well. This means making sure it keeps electricity and water away like it should. Here are two ways to test it:
Using a Multimeter
A multimeter helps you see if electricity can get through the coating. Turn the multimeter to measure resistance, and touch its probes to different parts of your electronics. A very high resistance or one that shows no connection means the coating is doing its job.
Water Test
This test checks if water can get through the coating. Put your coated electronics in water for a little while. Make sure all parts that should stay dry are under water. After taking them out and letting them dry, check if they still work right. If they do, the coating is protecting them from water.
Do these tests now and then or if you think the coating might not be working. This helps you find problems early and fix them before they get big.
Final Thoughts
In the end, non conductive coating is super important for keeping your electronics safe from electricity problems, water, and rust. Putting this coating on makes your devices last longer and work better.
If you have the right stuff, know about safety, and how to put the coating on, you can do it yourself. Make sure to clean the electronics well before starting, pick how you’ll put the coating on, and be careful to cover everything well. This way, your electronics will stay protected and work great.
For more about DIY Tips: Applying Non Conductive Coating for Electronics at Home, you can pay a visit to DeepMaterial at https://www.electronicadhesive.com/ for more info.